AI Engineer's Guide to Claude Code — Part 1
Claude Code is an agentic coding tool that runs in the terminal. Unlike a typical chatbot that just returns code snippets as answers, it reads files inside your project folder, edits code, runs commands, and maintains a continuous working session. Anthropic describes Claude Code as an agentic coding tool.
This post walks through getting Claude Code running for the first time, written for people who aren't yet comfortable with the CLI. I'm approaching Claude Code as an AI agent developer, but in Part 1 I focus on the things beginners trip over most — installation, the terminal, project folders, and the first-run flow — before getting into agent architecture.
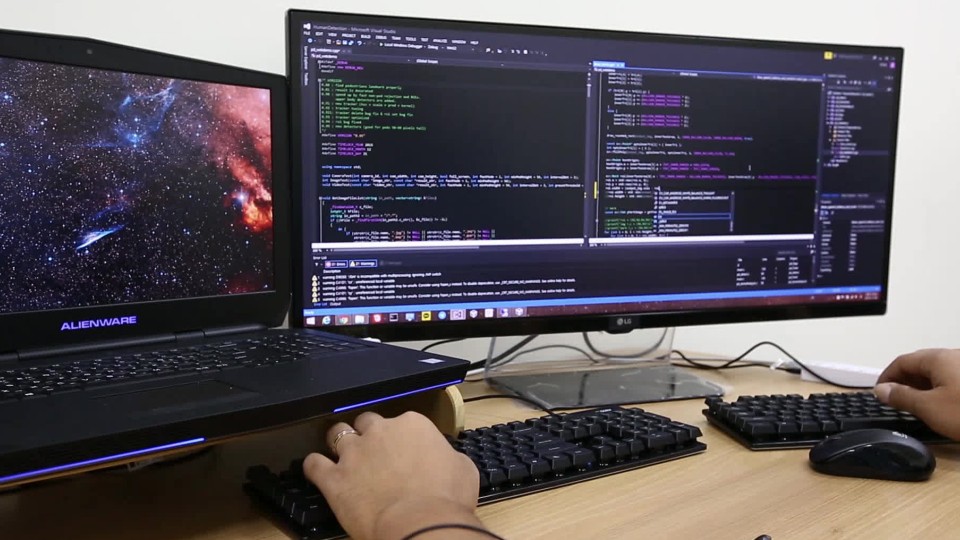
Claude Code operates as a development agent that reads and modifies your project directly from the terminal.
What This Post Covers
The goal of Part 1 is to install Claude Code, launch it inside a project folder, and safely send your first prompt. Complex automation, MCP, hooks, and multi-agent workflows are better saved for later parts. Throwing too many concepts at a beginner up front makes it easy to lose track of something as basic as where you are in the filesystem.
Topics covered here:
- What Claude Code is
- What the CLI and terminal are
- What to prepare before installing
- The roles of Node.js and npm
- The installation command
- Running Claude Code inside a project folder
- Good starter prompts for beginners
- How to read permission requests and command executions
- Common errors and why they happen
Claude Code in One Sentence
Claude Code is a tool that lets developers hand off codebase work to Claude directly from the terminal. You describe a task in natural language, and Claude Code examines the files in your current folder, then produces the necessary edits or suggests commands to run.
The key point is that Claude Code is not a browser-based chat service. It enters your local development environment — which means it connects to your project files, Git state, test commands, and package configuration.
This distinction matters even for beginners. In a browser chat, you type "fix this code" and then manually copy and paste. In Claude Code, you can type "fix this error" from inside your project folder, and the tool reads the actual file structure and continues from there.
Why the CLI Is the First Hurdle
Using Claude Code requires opening a terminal, and this is where many beginners get stuck. CLI stands for Command Line Interface — instead of clicking buttons on a screen, you type text commands.
The terminal is the window where you type those commands. On macOS it's Terminal, on Windows it's PowerShell or Windows Terminal, and on Linux it's the shell. Claude Code runs inside one of these.
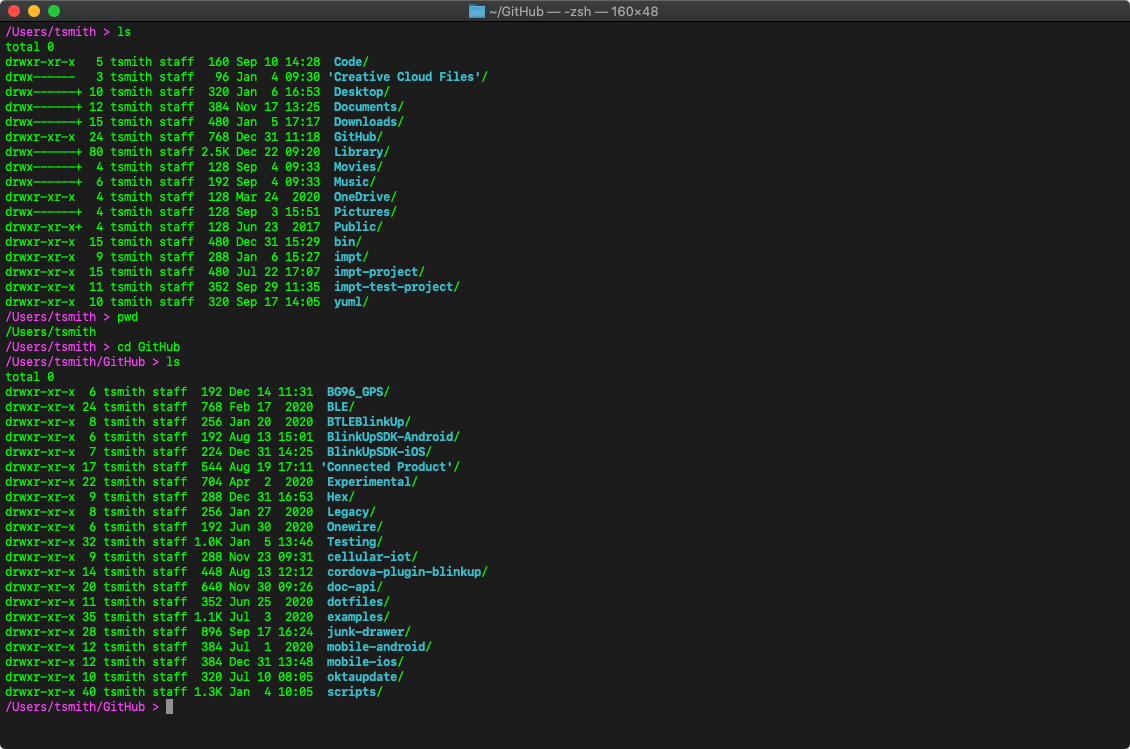
The terminal is the primary workspace for running Claude Code and navigating project folders.
The CLI isn't hard because of the commands themselves — it's hard because of the concept of current location. The terminal always has a "current folder," and the results of commands depend on where you are. Claude Code works the same way: it has to be launched from inside the project folder to read that project.
For example, this command prints your current location:
pwd
On macOS and Linux, pwd shows where you are. It also works in Windows PowerShell. Developing the habit of checking that the output path is actually your project folder will save you a lot of confusion.
Listing the files in your current folder differs slightly by OS:
# macOS / Linux
ls

# Windows PowerShell
dir
You don't need to memorize many commands to get started. What you need for Claude Code is: check your current folder, navigate to the project folder, and run the install command.
What to Prepare Before Installing
Three things to have in place before installing Claude Code:
- Node.js
- npm
- A Claude account or access to the Anthropic API
The official installation flow for Claude Code uses npm. According to the Claude Code setup docs, the install command is npm install -g @anthropic-ai/claude-code. npm is the package manager for the Node.js ecosystem.
Installing Node.js normally installs npm as well, so beginners should start there. Download Node.js for your OS from the official download page.
Installing Claude Code requires a Node.js and npm environment.
Once installed, verify both are available by running:
node -v
npm -v
If each command prints a version number, Node.js and npm are ready. Something like v20.x.x confirms Node.js is running.
If you see command not found or not recognized, either Node.js isn't installed or the terminal can't find its executable path. Start by fully closing the terminal and reopening it.
Installing Claude Code
The install command is:
npm install -g @anthropic-ai/claude-code
npm install installs an npm package. The -g flag means global — it installs Claude Code so the claude command is available from any directory in your terminal, not just inside a specific project.
After installation, verify it worked:
claude --version
If a version number is printed, the install succeeded. From there, navigate to your project folder and run:
claude
All CLI commands and options are documented in the CLI reference. Beginners don't need to read through all the options up front. For Part 1, understanding that claude opens an interactive session is enough.
Navigating to Your Project Folder
Claude Code understands your project relative to the current folder. Before launching it, navigate into the project folder you want to work in.
For example, if you have a folder called my-first-app on your desktop, the flow on macOS looks roughly like this:
cd ~/Desktop/my-first-app
pwd
ls
claude
On Windows PowerShell, the paths look different:
cd $HOME\Desktop\my-first-app
pwd
dir
claude
cd stands for change directory — it moves your terminal's current location to a different folder. Check your location with pwd, list the files with ls or dir, then run claude from that location.
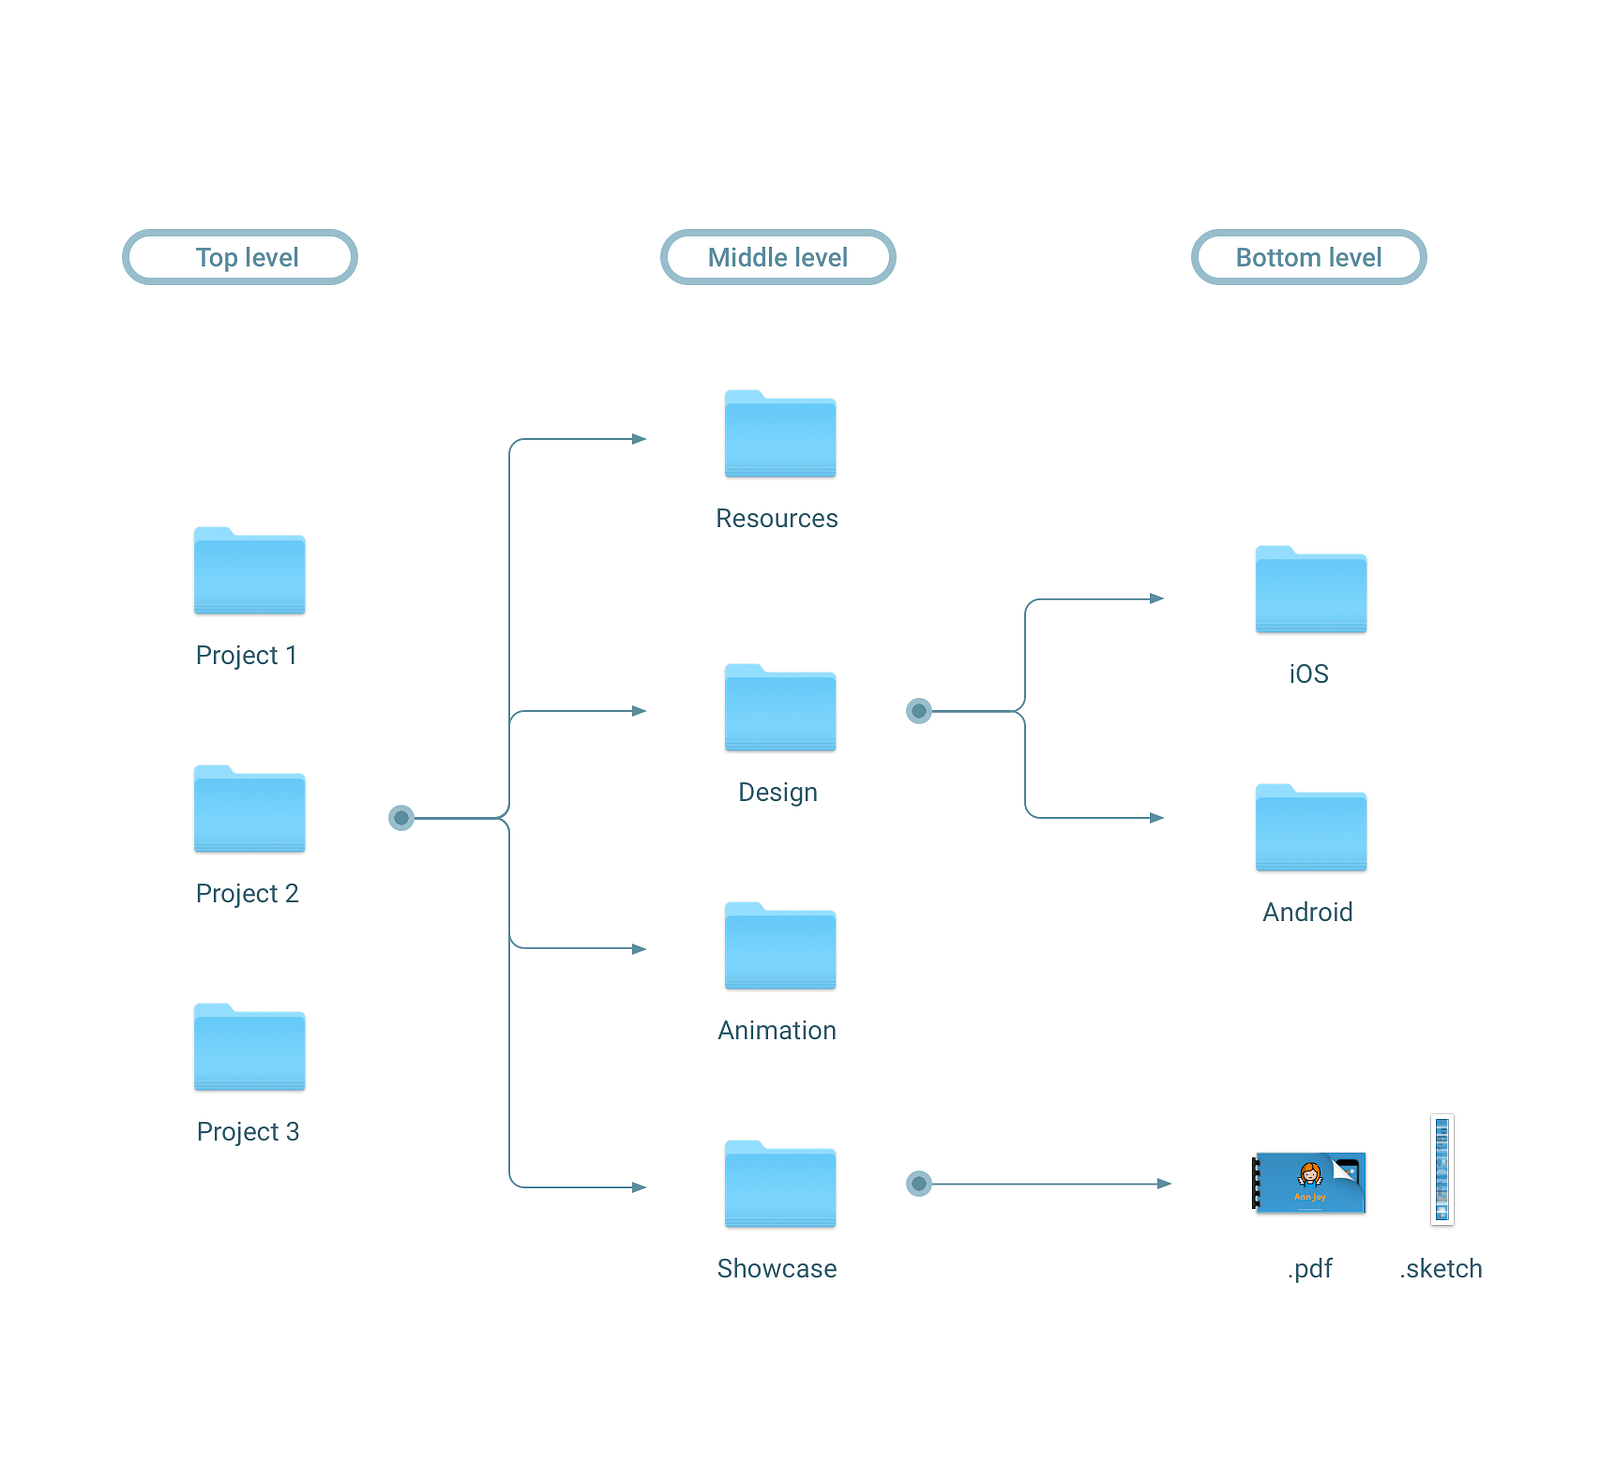
Claude Code reads files relative to the project folder where the terminal is currently located.
For beginners, the simplest check is: "Do I see project files like package.json, pyproject.toml, requirements.txt, or README.md here?" If yes, this is the right place to launch Claude Code.
What to Expect on First Launch
The first time you run claude, you may see prompts about authentication or permissions. Because Claude Code can interact with local files and execute commands, it's important to understand the scope and permissions it operates with.
Claude Code has a permission and security model. Anthropic describes it as requiring user approval for actions like modifying files and running commands. The relevant concepts are covered in the identity and access management and settings docs.
For beginners, keep these habits on first run:
- Don't approve commands you don't recognize.
- Pay extra attention to anything involving file deletion, package removal, or database resets.
- Read and understand what Claude proposes before approving it.
- Start by testing on a personal practice project.
When Claude Code proposes a command to run, check three things: what the command is, which folder it will run in, and whether it modifies files. Verifying these three reduces the chance of accidents.
Good Starter Prompts
After launching Claude Code for the first time, don't hand it a large task right away. Start by having it read and summarize the project.
Explain this project's structure in a way a beginner can understand. Don't modify any files — just read them.
The important part of this prompt is the explicit constraint: "Don't modify any files — just read them." Starting in read-only mode lets you see how Claude Code explores and understands a project.
Next, you can ask about how to run the project:
Tell me what commands I need to run, and in what order, to run this project locally. Don't run anything yet — just explain.
This is also a safe approach. It gets Claude Code to explain the plan before executing anything.
Then, as a third step, request actual execution:
Run only the first command from the steps you just described. Show me the command again before you run it.
This pattern — observe, plan, execute — is a solid default when working with AI agents in general. Rather than throwing a large goal at once, keep the execution steps small and separate. This is especially important for beginners.
Tasks That Work Well with Claude Code
Claude Code excels at reading and modifying a codebase. Good starting tasks include:
- Reading the README and summarizing how to run the project
- Looking at an error log and explaining likely causes
- Fixing a small bug
- Adding comments to a single function
- Figuring out why a test is failing
- Explaining the diff between before and after a change
Tasks that are harder to hand off from the start:
- Overhauling the entire architecture in one shot
- Modifying authentication, payment, or authorization logic without review
- Running commands connected to a production database
- Bulk-deleting files or running automated formatting across the whole codebase
- Bumping all dependency versions at once
Claude Code is powerful, but that doesn't mean every change should be delegated unconditionally. Because it can modify real files in your local environment, keeping the scope of each task small is important.
Breaking Work Into Smaller Units
Good requests are small and verifiable. "Fix this project" is too broad. Instead, break it down like this:
Find the cause of the current TypeScript errors. Don't modify any files yet — just tell me which files I should look at.
For the cause you just found, suggest the smallest possible fix. Show me a before/after comparison of the code.
Apply only the fix you suggested. Don't touch any other files.
This approach gives the agent both a goal and constraints. Providing only a goal leaves Claude Code free to explore broadly; adding constraints narrows the scope of work.
Keeping tasks small makes it easier to review what Claude Code has changed.
Making a Habit of Reviewing Changes
Git is nearly essential when using Claude Code. It tracks file change history, so after Claude Code modifies files you can see exactly what changed.
The basic commands:
git status
git diff
git status shows which files were modified. git diff shows the actual changes. If the git diff output looks long, don't panic — just focus on which file changed and which lines were affected.
If Git isn't installed, get it from the official Git download page. Before using Claude Code in earnest, make sure you're in a state where Git can roll back any changes.
How to Read Permission Requests
Claude Code may ask for permission to run commands or modify files during a session. When it does, you're not just clicking an approval button — you're a developer taking responsibility for what gets executed.
When reading a permission request, check four things:
- What command is about to run
- Which folder it will run in
- Whether it's a read or a write operation
- Whether the action is reversible
For example, npm install installs dependencies and may update the lock file. rm -rf deletes files. git checkout -- . discards changes. Each command has a different blast radius.
When you see a command you don't recognize, ask Claude Code to explain it first:
Explain what the command you're about to run means, as if I'm a beginner. If there's anything dangerous about it, tell me that first.
Making this a habit significantly reduces the chance of accidentally approving something harmful.
Claude Code Memory and Project Rules
Claude Code can use per-project instructions. The Anthropic documentation covers Claude Code's memory feature. You can record rules, build commands, test commands, and code style guidelines that apply repeatedly across a project, and Claude Code will reference them in subsequent tasks.
That said, this first installment won't go deep on memory configuration. If beginners build out complex rules files from the start, debugging becomes harder, not easier. It's more natural to run Claude Code first, and only write down rules once you notice yourself repeating the same instructions over and over.
For example, a project rules file might start out looking like this:
이 프로젝트에서는 TypeScript를 사용한다. 기존 코드 스타일을 유지한다. 파일을 수정하기 전에는 변경 계획을 먼저 설명한다. 테스트가 있으면 수정 후 관련 테스트를 실행한다.
The key is telling Claude Code not just what to do, but in what order and by what criteria.
Common Stumbling Blocks
claude command not found
If you get a "command not found" error after installation, the global npm binary path probably isn't in your terminal's PATH. First, close the terminal and reopen it. If that doesn't fix it, check where npm installs global packages:
npm config get prefix
This command shows the directory where npm installs global packages. The bin subdirectory of that path needs to be in your PATH for the claude command to be available anywhere.
Permission errors
On macOS or Linux, you may hit permission errors during a global npm install. Reaching for sudo every time isn't a great long-term habit. A safer approach is to change npm's global install prefix to somewhere under your home directory, or to use a Node version manager.
If you're just starting out, try installing Node.js from the official site, then reopening your terminal. If permission errors keep coming up, paste the exact error message into Claude or a search engine to find the root cause.
Claude Code doesn't seem to be reading the project
If Claude Code looks like it can't find your project files, you're most likely in the wrong directory. Use pwd and ls (or dir on Windows) to verify where you are.
A project root typically contains at least one of these:
package.jsonREADME.mdpyproject.tomlrequirements.txt.git
If none of these are visible, you're probably in a parent directory or the wrong folder entirely.
The response looks right but the edits are off
If Claude Code's changes don't match your intent, don't immediately hand it more edits to make. Review the changes first:
git diff
Then ask Claude Code to explain what it did:
방금 변경한 내용을 파일별로 설명해 줘. 내가 요청한 범위를 벗어난 수정이 있는지도 확인해 줘.
This matters a lot when working with AI agents. The agent saying it's done doesn't mean the review is done. You look at what changed, and if something's wrong, you revert it.
A Recommended First Exercise
When you're just getting started, use a practice project rather than anything important. Create a simple JavaScript or Python project and work through the following sequence:
- Run
claudefrom the project folder - Ask it to describe the project structure
- Ask it how to run the project
- Introduce a small bug
- Ask it to diagnose the bug
- Ask it to outline a fix
- Ask it to modify one file only
- Review the changes with
git diff - Run the tests or the app
Going through this flow once makes it clear that Claude Code isn't a simple chat tool — it's a development agent that operates with project context.
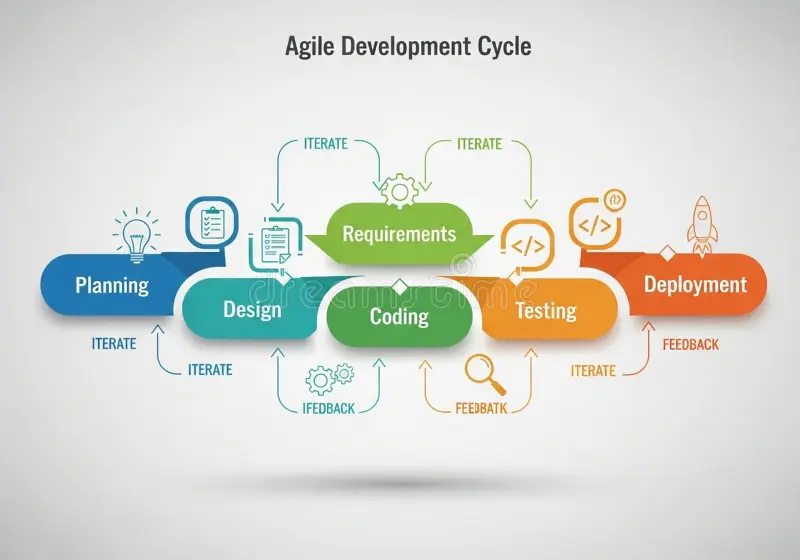
Starting with small, repeated cycles of analyze → plan → modify → review is the safe approach.
Part 1 Wrap-Up
When learning Claude Code for the first time, the first wall you have to clear isn't the AI — it's the terminal. Understanding where you are in the filesystem, what commands you're running, and whether files are actually changing is what lets you use Claude Code safely.
The key takeaways from Part 1:
- Claude Code is an agentic coding tool that runs in the terminal.
- Installation requires Node.js and npm.
- The install command is
npm install -g @anthropic-ai/claude-code. - Navigate to your project folder before running
claude. - Start by having it read and explain things — don't let it modify files right away.
- Always read and approve permission prompts for command execution and file edits.
- Get into the habit of using Git to check what changed before and after.
The next installment covers how to apply Claude Code to a real project using the full workflow: read-only analysis → change plan → code modification → test → diff review.