Claude Code Field Guide for AI Engineers — Part 2
Part 1 covered installing Claude Code and navigating to a project folder in the terminal. Part 2 covers how to use Claude Code safely on a real project. The focus isn't on memorizing commands — it's on internalizing the basic workflow: open a project, make a request, review the changes, and roll back if needed.
Claude Code is an agentic coding tool that runs in the terminal. Anthropic describes it as a tool that understands your codebase, edits files, runs tests, and assists with Git operations. This post follows the basic concepts in the Claude Code official documentation and breaks down the specific points where beginners tend to make mistakes.

Claude Code is used inside a development workflow where it reads and modifies project files from the terminal.
1. What Part 2 Covers
The core of Part 2 is your first session after installation. Launching Claude Code isn't hard, but for first-time users the steps that follow are trickier:
- Deciding which folder to run it from
- Writing out what to ask Claude
- Judging whether to allow Claude to modify a file when it asks
- Reviewing changed files yourself
- Reverting changes you don't want
- Leaving project rules behind to cut down on repetitive setup
This post organizes all of the above into a single basic loop: select folder → check current state → small request → review changes → test → commit.
2. Understand the Project Folder First
Claude Code works relative to whatever folder the terminal is currently in. So before you run Claude, the very first thing to do is confirm: where am I right now?
To check your current location in the terminal:
pwd
On macOS and Linux, pwd prints the current directory path. On Windows PowerShell, use:
Get-Location
The most important principle for beginners is to run Claude Code from the project's top-level directory. That directory typically contains some combination of these files and folders:
.gitpackage.jsonpyproject.tomlrequirements.txtREADME.mdsrcapp
For a Next.js project, the right location is wherever package.json and next.config.js live. For a Python FastAPI project, it's usually wherever pyproject.toml, requirements.txt, and the app folder live.
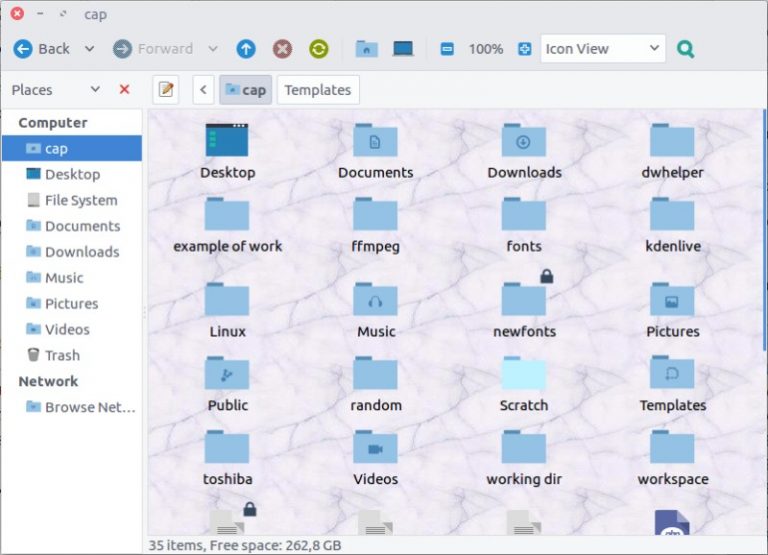
Before running Claude Code, confirm that your current directory is the project root.
3. Pre-Launch Checklist
Before starting Claude Code, verify that the project is in a safe state — meaning you know what's changed and can roll back if something goes wrong.
For a Git project, check the status first:
git status
If the output says something like nothing to commit, working tree clean, the working directory is clean. If there are already modified files, confirm that those modifications are yours before proceeding.
To inspect the changes in detail:
git diff
The output of git diff can look long and unfamiliar at first. At minimum, develop the habit of checking which files changed and which lines were added or removed. You'll use the same command to review Claude's changes after it edits files.
Even if you're not yet comfortable with Git, learn these two commands first:
git status— see which files have changedgit diff— see what changed inside those files
Claude Code is a powerful tool, but the developer is ultimately responsible for every change. Never run or commit auto-generated code without reviewing it first.
4. Running Claude Code
Navigate to the project root, then launch Claude Code:
claude
The Anthropic Claude Code quickstart walks through starting a session by running claude from the project folder. The key difference from a typical chat UI is that Claude can read and work with the actual codebase.
On first launch you may see prompts about authentication or permissions. Read whatever the terminal displays carefully. In particular, don't blindly allow every request related to reading files, modifying files, or executing commands.
Keep your first prompt small. For example:
Explain this project's structure in a way a beginner could understand. Don't modify any files yet — just summarize the main folders and how to run the project.
This prompt has a few deliberate constraints:
- It only asks for a structural explanation.
- It explicitly says not to modify files.
- It asks for a summary of how to run the project.
Starting with "refactor everything" means a large blast radius of changes. Beginners have a hard time reviewing large diffs. Start with read-only, explanatory requests — that's the safer approach.
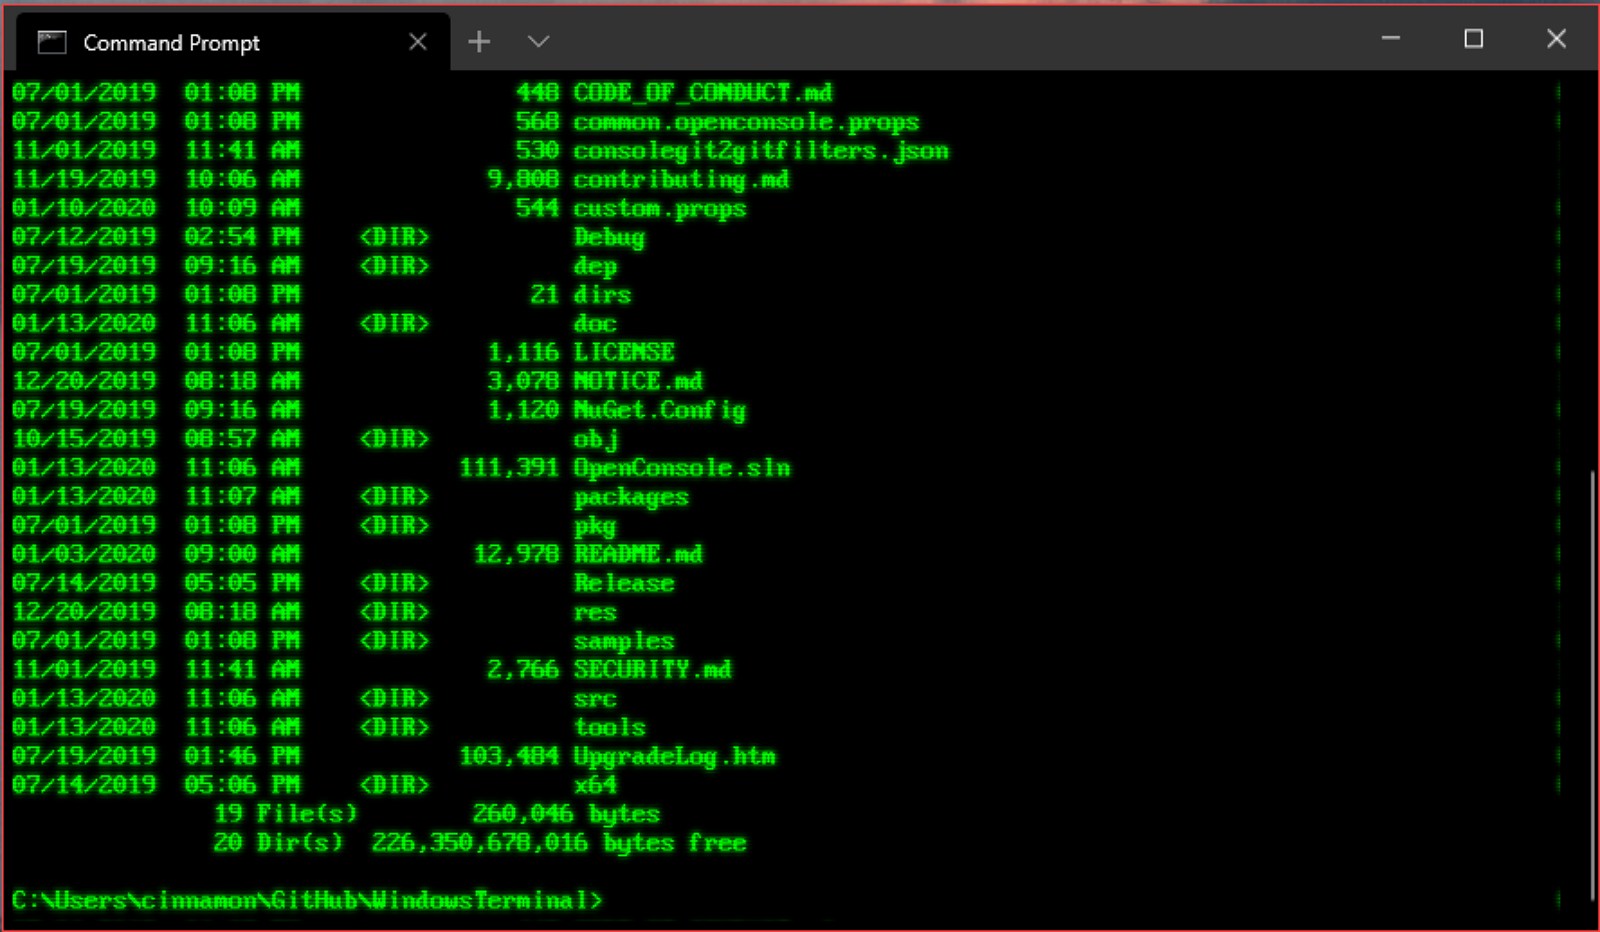
For a first session, a read-only request to explain the project structure is the safest starting point.
5. Good Prompts Narrow the Scope
Using Claude Code well is less about writing longer prompts and more about narrowing the scope precisely. The more ambiguous a request, the more files a coding agent tends to read, and the wider the changes it may propose.
A good request usually includes:
- Goal — what you're trying to accomplish
- Scope — which files or folders to touch
- Constraints — what not to do
- Verification — which command to run to confirm it worked
- Output format — whether you want an explanation, a plan, a diff summary, etc.
Example:
Look only at src/components/LoginForm.tsx and explain the conditions under which the login button is disabled. Don't modify any code yet. At the end, list the spots that look like they need fixing as bullet points.
When you do want a file modified, be more specific:
In src/components/LoginForm.tsx, make the email validation error message clearer. Don't change the UI structure — only touch the message text and the validation function. After the change, summarize which lines were modified.
When tests are in scope, include the verification command:
Fix the password validation logic in the signup form. Limit the changes to src/features/signup. After the fix, verify with npm test -- signup.
This approach benefits both Claude and whoever reviews the work. A narrow scope is easier to roll back on failure and easier to explain on success.
6. Get a Plan Before Any Changes
When you're new to Claude Code, it's safer to ask for a plan before asking for edits.
Before fixing this bug, estimate the cause, list the files you need to check, and write out a plan for the fix. Don't modify any files yet.
This stops Claude from immediately changing code. You get to see which files it intends to look at, what hypothesis it's working from, and in what order it plans to make changes.
Once you have the plan, evaluate it against these criteria:
- Does the described problem match the actual symptoms?
- Do the files it wants to check seem related to the issue?
- Is the change scope unreasonably broad?
- Does the plan include a way to test or verify the fix?
If the scope is too wide, narrow it:
The scope looks too broad. Revise the plan to target only src/api/auth.ts and the src/features/login folder.
Once the plan makes sense, then ask for the changes:
Looks good. Go ahead with that plan. Don't rename any public APIs, and show me a diff summary before finishing.
This structure is useful in real work too — you're delegating to the agent while keeping control over the direction.
7. How to Read Permission Requests
Claude Code may ask for permission when reading or modifying files or running commands. Permission prompts are one of the most intimidating parts for beginners, but having clear criteria makes them much easier to handle.
Relatively safe to allow:
- Reading files inside the project
- Modifying specific source files
- Running test commands
- Running lint commands
- Running type-check commands
Requires more caution:
- Mass modification of files across the whole project
- Running delete commands
- Installing packages
- Running commands that make network requests
- Accessing environment variables or credential files
- Accessing the home directory or system folders
Pay special attention to sensitive files like .env, .npmrc, SSH keys, and cloud credential files. Anthropic explains Claude Code's security model and permission controls in the security documentation. The core point is that the agent can perform powerful operations inside your development environment, so permission decisions should be made one task at a time.
For beginners, these rules work well:
- Don't allow any command you don't understand.
- Double-check anything related to deletion, installation, or deployment.
- Decline requests to read sensitive files.
- Start by allowing only clearly verifiable commands like tests and type checks.
8. Always Review Changes with Git
After Claude modifies files, don't run or commit anything immediately. Check the Git status first:
git status
Review the list of changed files, then look at the diff:
git diff
If many files changed, you can inspect them one at a time:
git diff src/components/LoginForm.tsx
When reviewing, go through this checklist:
- Did only the files I asked about change?
- Were any features changed that I didn't ask to touch?
- Was any code deleted?
- Were test files modified alongside the source?
- Did any config files change unexpectedly?
To revert Claude's changes, use Git. To restore a specific file:
git restore src/components/LoginForm.tsx
There's also a command to revert everything, but beginners should use it with extreme care:
git restore .
This reverts all changes in the working directory — including any changes you wrote yourself. Run git status and git diff before executing it so you know exactly what you're discarding.
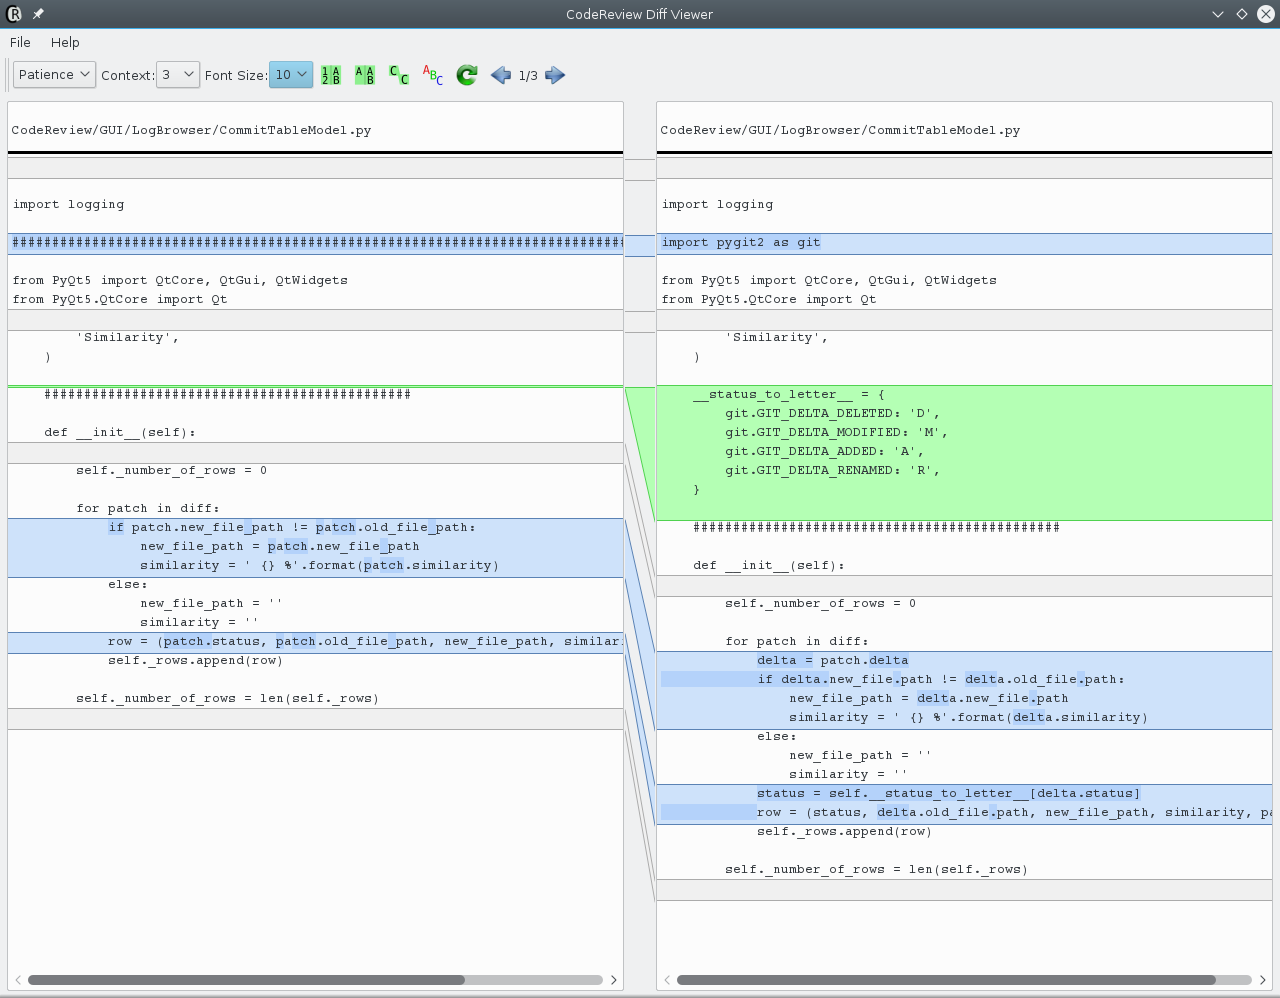
Changes made by Claude Code should always be reviewed directly with git diff.
9. Keep Testing and Execution Separate
Once a code change is done, it needs to be verified. Verification breaks down into three stages:
- Static analysis — type checking, linting
- Automated tests — unit tests, integration tests
- Manual verification — checking directly in a browser or via an API call
For JavaScript or TypeScript projects, the common commands are:
npm run lint
npm test
npm run build
For Python projects:
pytest
python -m pytest
ruff check .
mypy .
When asking Claude to handle verification too, name the commands explicitly:
After the fix, run npm run lint and npm test. If anything fails, summarize the failure and don't make further changes — explain the situation to me first.
The "don't make further changes — explain first" constraint matters. It prevents a cascade where the agent modifies a large number of files in response to a test failure.
10. Use CLAUDE.md to Capture Project Rules
The more you use Claude Code on the same project, the more you'll find yourself re-typing the same context — project structure, coding style, test commands, things that shouldn't be touched. That gets tedious fast.
Claude Code supports a CLAUDE.md file for storing per-project instructions. Anthropic's memory documentation explains how Claude Code maintains context through project-level and user-level memory.
For beginners, the easiest approach is to place a CLAUDE.md file in the project root. Here's an example:
# Project Guide for Claude

## Project overview

This is a Next.js web application.

## Commands

- Dev server: npm run dev
- Lint: npm run lint
- Test: npm test
- Build: npm run build

## Rules

- UI components go under src/components.
- API call logic goes under src/lib/api.
- Only modify package.json when explicitly asked.
- Do not read or modify .env files.
- Before any large refactor, write a plan first.

## Response style

- Before making changes, briefly explain the plan.
- After making changes, summarize the modified files and verification results.
This file tells the agent the ground rules for the project. The key is not to overload it with content. Keep it short — focus on rules that must actually be followed and commands that are used regularly.
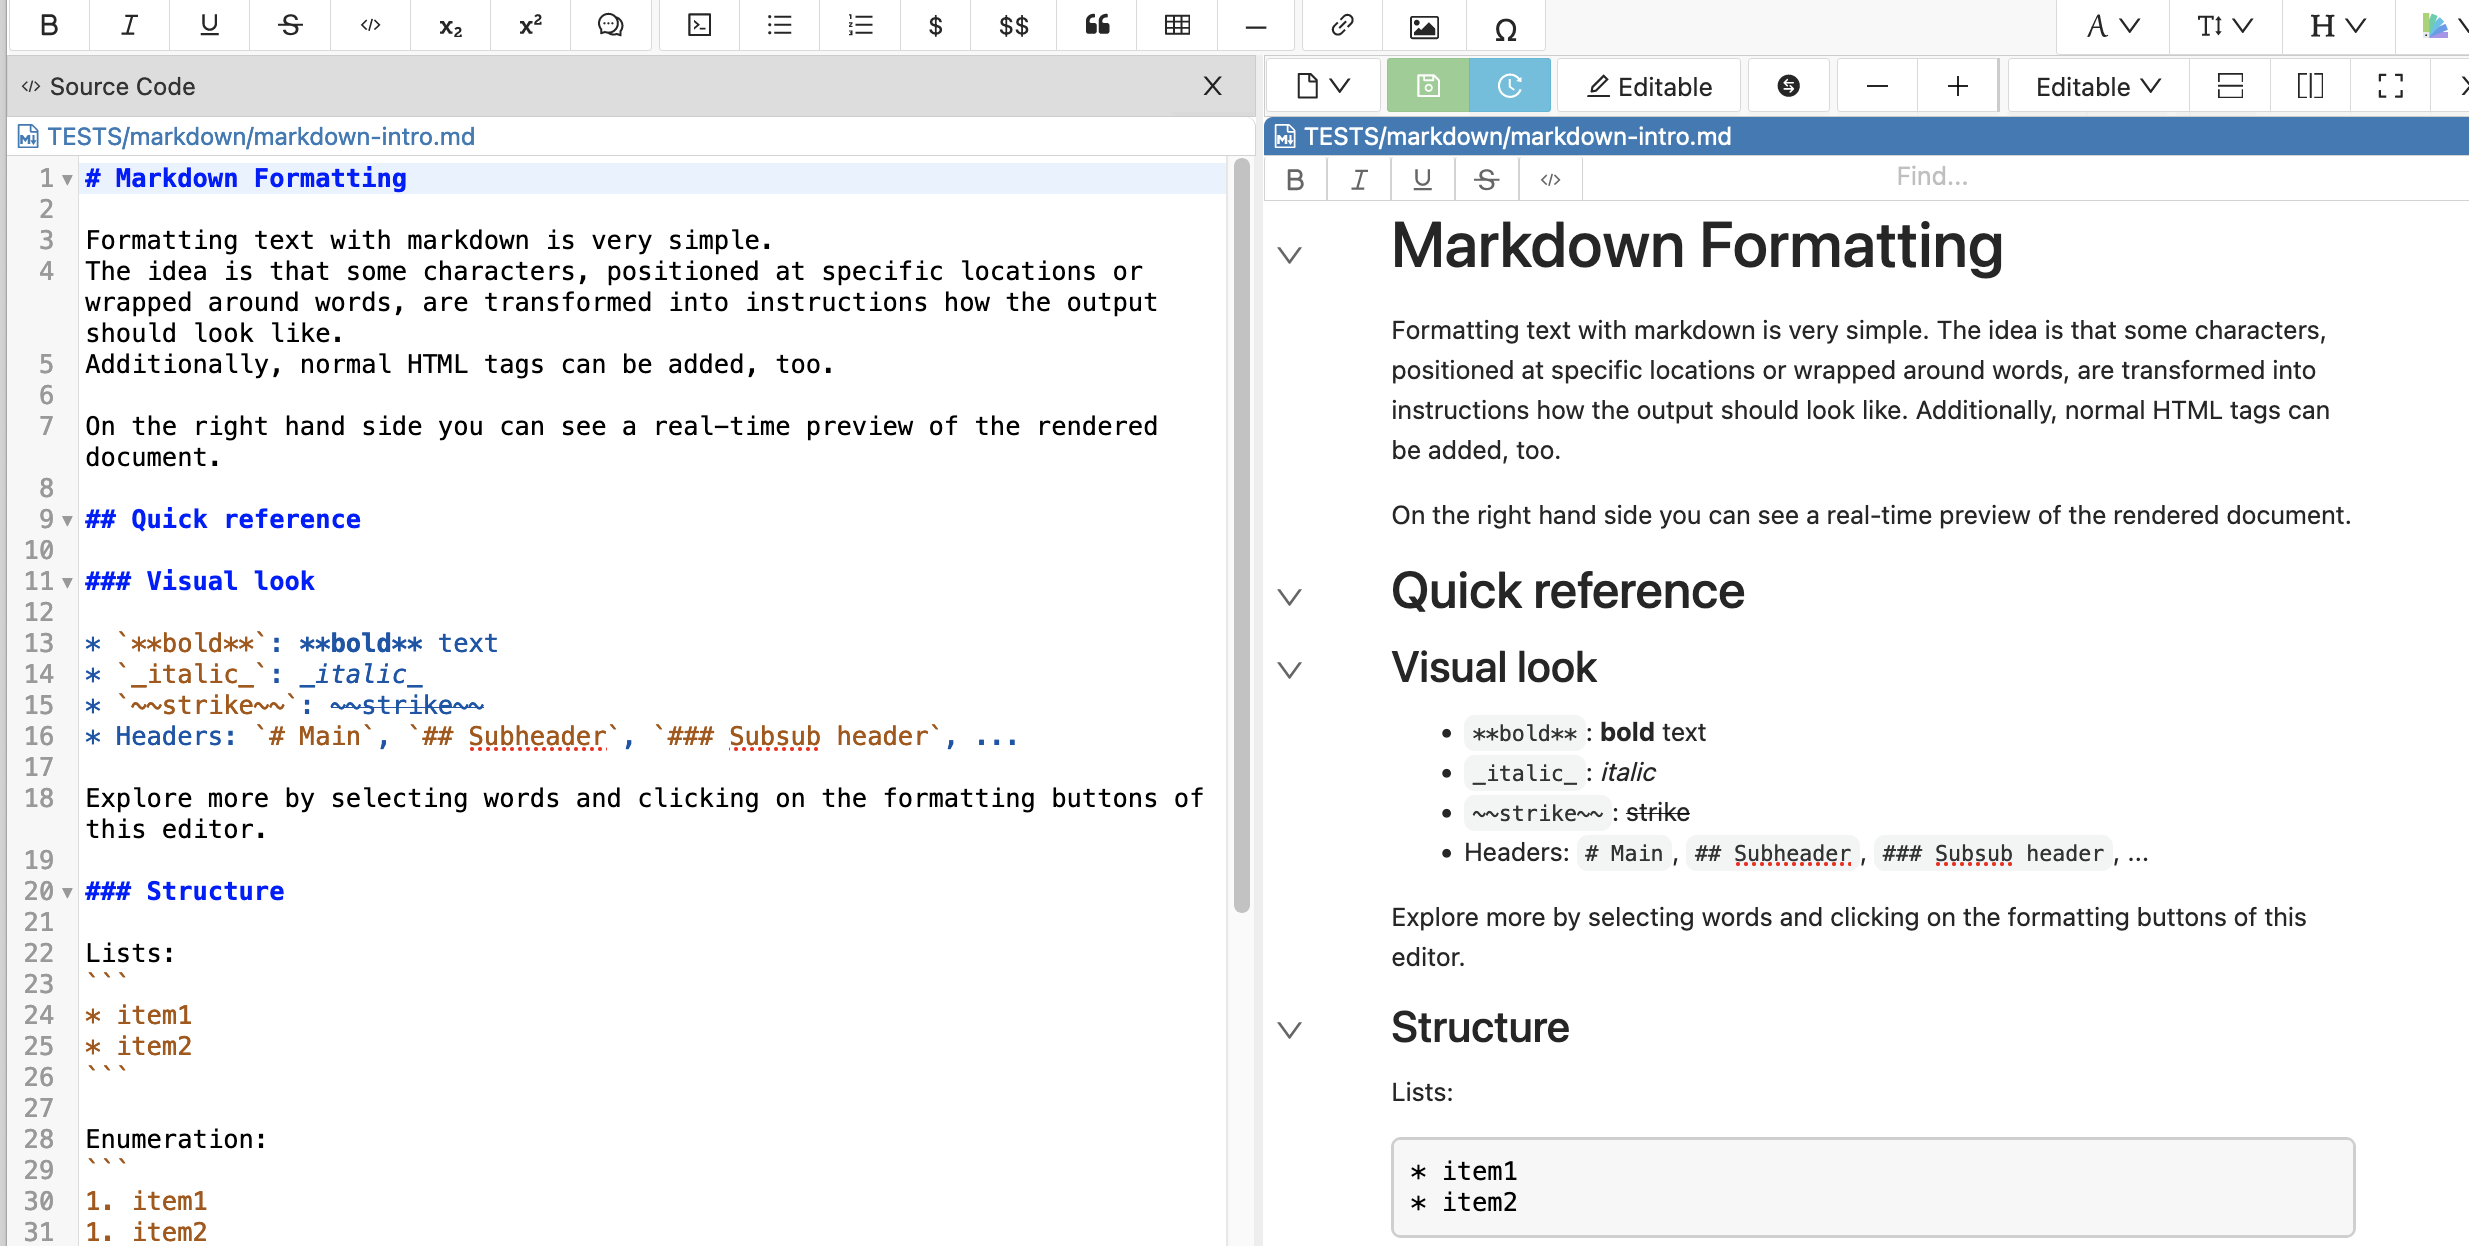
Recurring project rules belong in CLAUDE.md — keep them short and clear.
11. Understand slash commands
Claude Code supports slash commands you can use during a conversation. Anthropic explains both built-in and custom commands in the slash commands documentation.
As a beginner, you don't need to memorize every command. Start by understanding that the following categories exist:
- Commands that inspect the current conversation or configuration
- Commands that display help
- Commands that reset or organize the working context
- Custom commands that reduce repetitive prompts
Slash commands differ from natural-language requests in that they control Claude Code's own behavior. For example, if you define a custom command for a recurring workflow, you no longer have to type a long prompt every time.
There's no need to create custom commands from scratch right away. Use natural-language prompts first, and only formalize a command once you find yourself repeating the same request.
12. Keep project settings and personal settings separate
Claude Code configuration should be split into two concerns: project-level settings and personal settings. Rules that every team member must follow are fundamentally different from settings that only apply to your local environment.
Anthropic's settings documentation covers the scope and precedence of Claude Code settings. For beginners, the following breakdown is enough:
- Project rules: conventions the whole team must follow
- Personal rules: your own response preferences and local workflow habits
- Sensitive values: things that must never appear in settings
API keys, tokens, passwords, and personal access tokens must not be written directly into config files or CLAUDE.md. Manage these values with environment variables or a secrets manager.
The following belong in project documentation:
- Test commands
- Build commands
- Folder structure
- Coding conventions
- Scope of changes Claude must not make automatically
The following must never appear in project documentation:
- Real API keys
- Production server credentials
- Personal tokens
- Passwords
- Customer data
13. A first hands-on scenario for beginners
The sequence below is a good starting point for someone using Claude Code for the first time. The key principle is not to hand off large tasks all at once.
13.1 Get a description of the current project
Explain this project's folder structure and how to run it, at a beginner level. Do not modify any files yet.
This step is read-only. Compare Claude's description against the actual contents of README.md and package.json.
13.2 Find test commands
Find the commands used to run tests, linting, and builds in this project, and summarize them. Base your answer on package.json or any documentation files. Do not modify any files.
This step identifies the project's verification commands. These become your safety net for all subsequent changes.
13.3 Assign a small text change
Find the file inside src/components that renders the login button label. Once you find it, change only the button label to "Log In". Do not modify any other UI structure.
After the change is made, verify it yourself:
git status
git diff
13.4 Run validation
Suggest the smallest validation command worth running for the change we just made. Don't run it yet — first explain why that command is appropriate.
If the explanation makes sense, allow it to proceed.
13.5 Get a draft commit message
Based on the current git diff, write 3 candidate commit messages. Use Conventional Commits format.
The actual commit is done by the person. Rather than letting Claude commit automatically, beginners should get comfortable reviewing changes and committing manually first.
14. Request templates for everyday use
Until you're familiar with Claude Code, copying from templates is the safer approach.
14.1 Read-only analysis
Analyze the following problem. Do not modify any files yet.

Problem:
- Describe the symptoms here.

Expected output:
- Possible causes
- Files to check
- Fix plan
- How to verify the fix
14.2 Scoped modification
Make changes only within the scope defined below.

Goal:
- Describe the goal here.

Allowed to modify:
- src/features/example

Must not modify:
- package.json
- .env
- Public API names

After making changes, provide:
- Summary of modified files
- Validation command(s) run
- Any remaining risks
14.3 Test failure analysis
Analyze the test failure log below. Do not modify any files yet.

Log:
```text
Paste the failure log here.
Expected output:
- Summary of the failure cause
- Most likely location to fix
- Additional commands to investigate
### 14.4 Refactoring plan

```text
Before refactoring this code, produce a plan only. There must be no behavior changes.

Target:
- List the file or folder here.

Constraints:
- No changes to public interfaces
- If there are no tests, propose adding tests first
- Modify no more than 5 files at a time
15. Common mistakes and how to handle them
Beginners running into trouble with Claude Code tend to hit the same issues.
Requests that are too large. Prompts like "improve the whole codebase" produce wide-ranging changes that are hard to review. Break work into small units — one file, one function, one test at a time.
Not reviewing changes. Just because Claude says it made a change doesn't mean the change is correct. Running git diff is not optional — it's a baseline step.
Allowing automatic fixes after test failures. When a test fails, ask Claude to explain the cause first. A person should confirm the fix direction before proceeding.
Pasting sensitive values into prompts or documents. In an environment where an agent can read project files and run commands, secrets management matters even more.
Stating project rules verbally every time. Rules that come up repeatedly should be written in CLAUDE.md. That keeps output quality consistent.
16. The core working loop
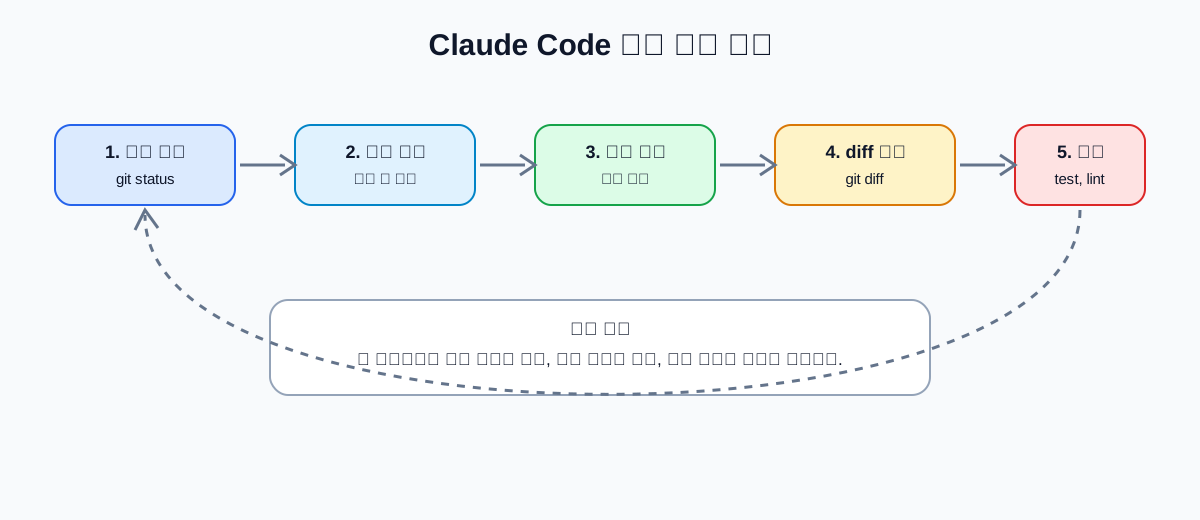
The foundation of working with Claude Code is a repeating cycle: check state → request a plan → make a small change → review the diff → validate.
The core loop from this post:
1. Navigate to the project root.
2. Check current state with git status.
3. Launch claude.
4. Start with a read-only analysis request.
5. Review the plan.
6. Allow changes within a narrow scope.
7. Verify changes with git diff.
8. Run tests or linting.
9. If the result looks right, commit manually.
10. Add recurring rules to CLAUDE.md.
The measure of using Claude Code well is not how much you can offload at once. The key is breaking work into units a person can understand, and keeping each step in a reviewable state. Follow that principle, and even a beginner can use a terminal-based agentic tool reliably.